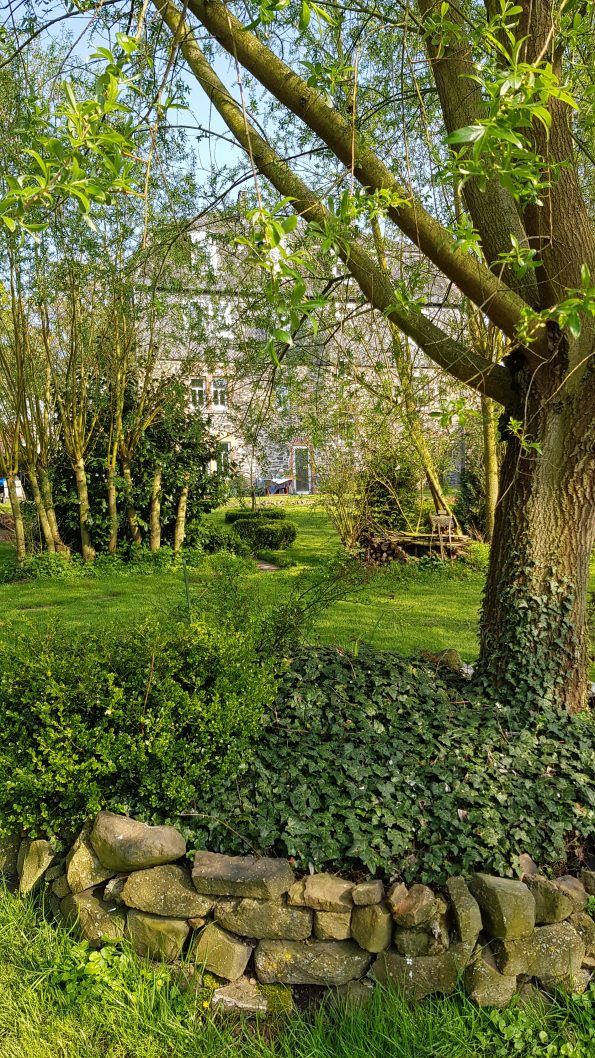
After the long, cold winter April brought wonderful spring weather and we are thankful that it has been warm and sunny. We have been very busy in the yards and gardens and have removed about 15 tall willows that were getting out of hand.
Comfort food from Bergamo and Bergama
Bringing the Roman and Ottoman Empires together
There was a time when I was more at home on ski slopes than anywhere else. I didn’t learn to ski until I was almost 30 years old, but when I did I became an impassioned downhill fanatic. This was at a time when I was supposed to be working on my PhD thesis in the lab, but that is another story. Weekends were spent in Austria, southern Germany, Switzerland, eastern France or northern Italy, looking for powder snow and great meals. Great meals? Well, of course. Skiing takes a lot of calories, but beyond that, good food was always my first passion.
I believe it was in 1972 that we were skiing in Pescegallo, between lake Como and Bergamo in Lombardy, northern Italy. On the slope we met some French people who told us about a very good restaurant somewhere south of where we were. Since this was more than 40 years ago I hope no one will be offended if every detail is not completely accurate, including the name of the restaurant. I looked on the map and found the Restaurant Step Culmine St.Peter on the Culmine Pass and that sounds vaguely familiar so I will just say it was there. Most importantly, however, it is on the road to Val Taleggio and that brings us to the reason for telling this long-winded story here. We were shown our table, served wine, a Capriano del Colle from the Brescia region and some delicious antipasti, but since it was already quite late the waiter apologetically told us that there were only two items on the menu. I don’t remember the other dish, but the chicken stuffed with Taleggio cheese sounded so good that we all ordered that. The dish was served with risotto alla Milanese (unsurprisingly) and a salad of rocket (arugula) with more Taleggio cheese shredded over it. It was so gorgeous that I noted what I thought the recipe would be and tried to recreate it when I returned home, to the pleasure of my skiing companions. It was not quite the same as the original, and then I found a recipe somewhere that I copied in pencil on the inside of the back of a ceral box. It was much closer to the original, but unfortunately I don’t know where the recipe came from. In the meantime I have made this recipe a number of times, whenever I found that delicious cheese at the market or in a specialty shop. In the meantime Taleggio is available in many supermarkets so I decided to share the recipe here. I should also note that we took the opportunity to visit a cheese manufacturer, Casearia Arnoldi Valtaleggio, and stocked up on a few kilos of this delicious stuff.
Taleggio cheese is soft, with a thin rind and is always made and sold in squares. It has a rather pungent odour, but is actually quite mild in flavour. Most apparent is a nuttiness and fruitiness that reminds one of raisins or lemons. If it is not available there are reasonable substitutes such as Robiola, Fontina, Bel Paese or even a Limburger. It is definitely worth looking for the original, but in an emergency these other soft, aromatic cheeses will work for this recipe.
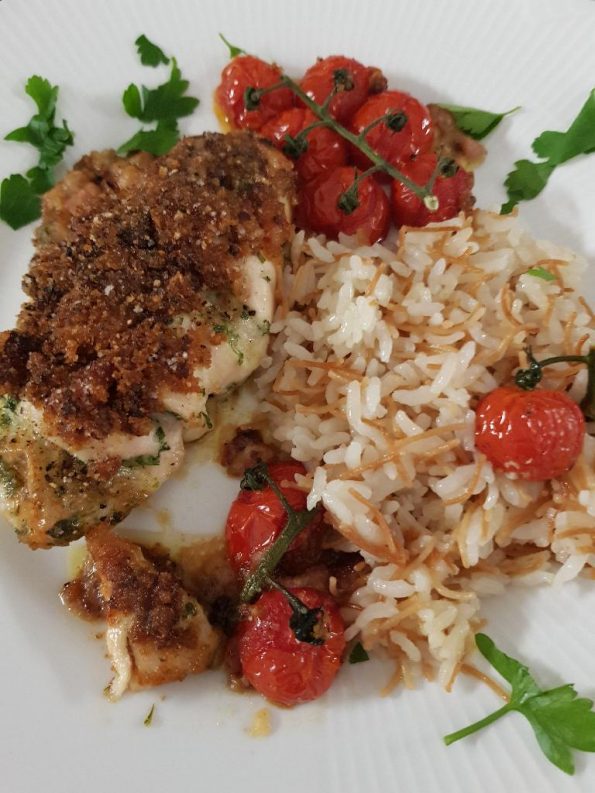
A few weeks ago I bought a block of Taleggio and decided to make the dish, but was undecided as to what to serve with it. A few days before Karin’s sister Monika had brought us the ingredients to make a dish she enjoyed, Turkish rice pilaf, and I thought it sounded like an interesting accompaniment. The rice she brought was medium grained, but I remember most of the Pilaf dishes in Turkey with long-grained rice, more like Basmati rice. I prefer long-grained rice because it does not need the intensive washing steps to remove excess starch.Back in the late 1960s I had spent 9 weeks in Turkey in the late 1960s and had enjoyed the amazingly nutty and aromatic rice dish, made with pastina-like noodles called arpa sehriye, similar to filini. One restaurant in Bergama, about 100 km north of Izmir, served it with the most amazing mutton dish and eggplant. The rice was served with a bowl of creamy yogurt to spoon over it and the meal was unforgettable. Here are my re-creations of these two memorable dishes:
Taleggio Stuffed Chicken Breasts and Turkish Rice Pilaf
For the chicken breasts
Ingredients for 3 servings (can be easily reduced or increased)
3 boneless chicken breasts without skin
salt and pepper
3 Tbl basil pesto
2 Tbl chopped basil leaves
3 Tbl crème fraîche or cream cheese
180 g (6 oz) Taleggio cheese – grated or cubed
30 g Parmesan cheese – grated
60 g (2 oz) fine bread crumbs
sweet paprika powder
500 g (1 lb) plum or other small tomatoes
2 Tbl olive oil
1 Tbl balsamic vinegar
Instructions
Preheat the oven to 220 °C (430 °F)
With a sharp knife cut slits int the chicken breasts, but not through.
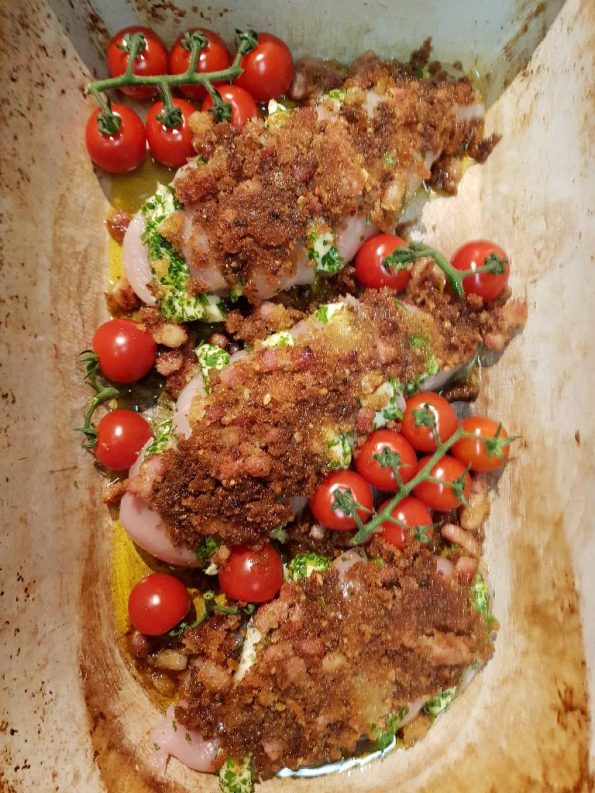
Mix the cheeses, pesto and basil leaves and season to taste with salt and pepper. Press the mixture into the slits in the chicken breasts and place in a baking dish or roasting pan. Any excess cheese mixture can be spread onto the meat. Mix the bread crumbs with about 1/2 tsp of paprika powder and spread over the chicken.
Bake for 20-25 minutes, then place the tomatoes between the chicken breasts and trickle oil and vinegar over them. Return to the oven and bake for an additional 10 min or until the chicken has an internal temperature of 72 °C (160 °F).
Serve the chicken with a few tomatoes and don’t forget to spoon some over of the delicious juices out of the bottom of the roasting pan.
For the Turkish Rice Pilaf
for 3 servings
3 Tbl butter
3 Tbl Turkish rice noodles – Arpa Sehriye (filini or alternatively orzo)
1 cup long-grain rice (Turkish or Basmati)
2 cups warm chicken stock or water
2-1/2 tsp salt
Instructions
Rinse the rice in cold water, drain and set aside.
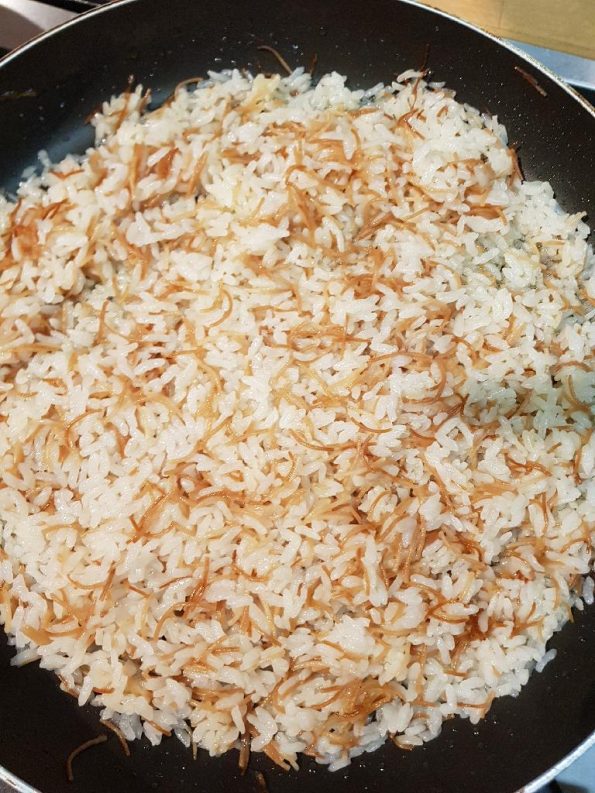
In a medium pot melt the butter and roast the rice noodles until golden brown (with care as the noodles can easily burn). Add the washed and drained rice and heat for 3-4 minutes until the rice begins to emit its fragrance.
Reduce the temperature and add the warm water or stock and salt. Stir once, cover and allow to simmer until the water is completely absorbed, 10 – 15 min. It is important not to stir or otherwise disturb the rice until it is cooked. Place 3 layers of paper towel over the pot and cover tightly with the lid. Allow to rest for at least 30 minutes on the warm stove top. If using a gas stove place the pot over the pilot light or over the smallest flame with a metal gauze to protect from burning.
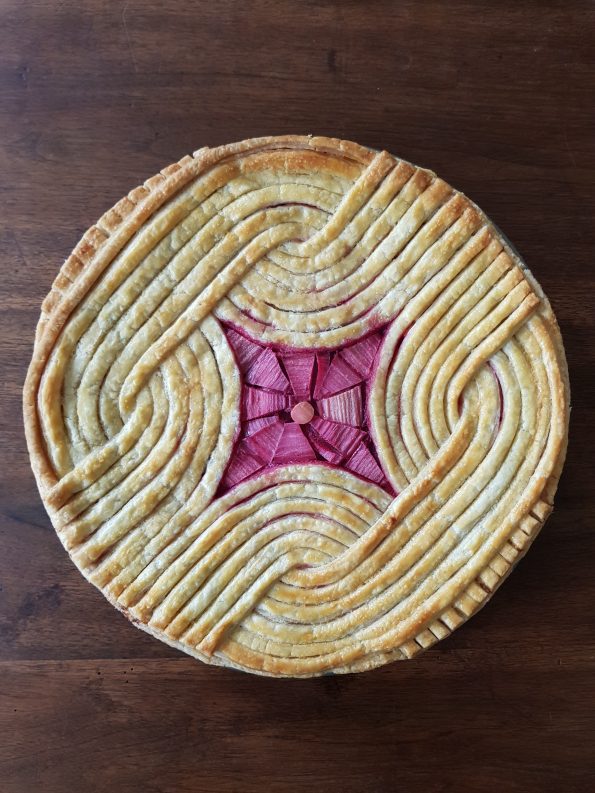
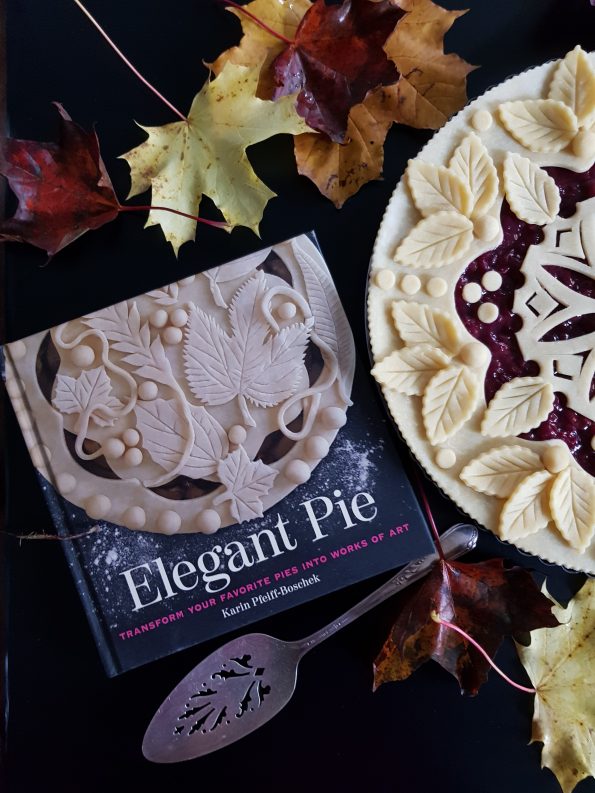
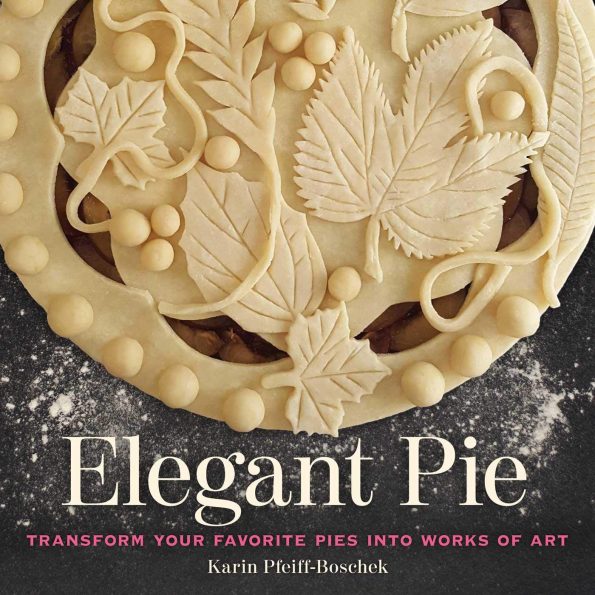
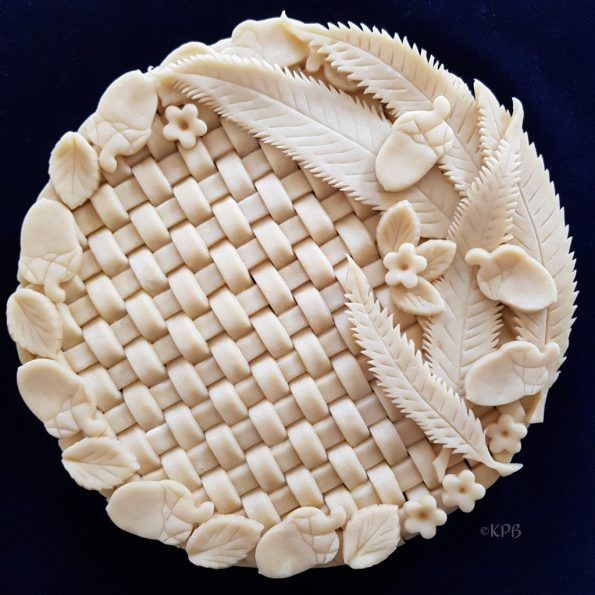
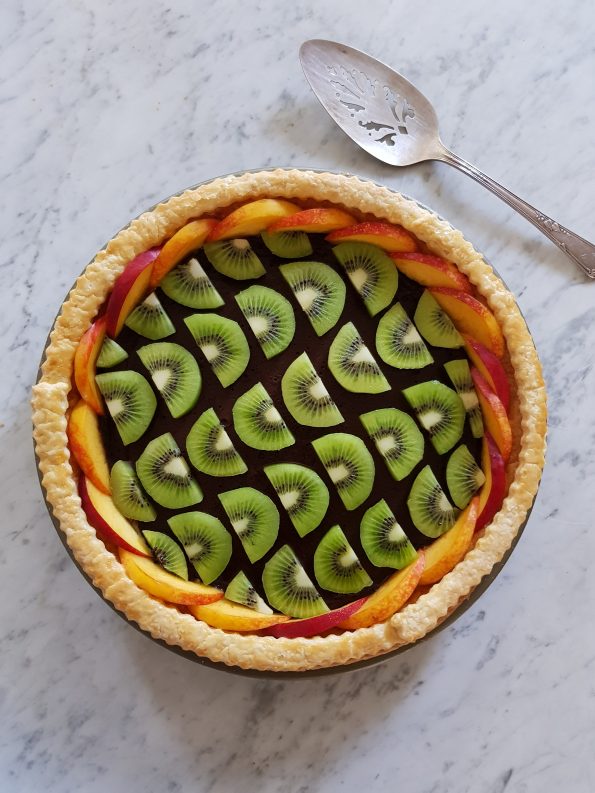
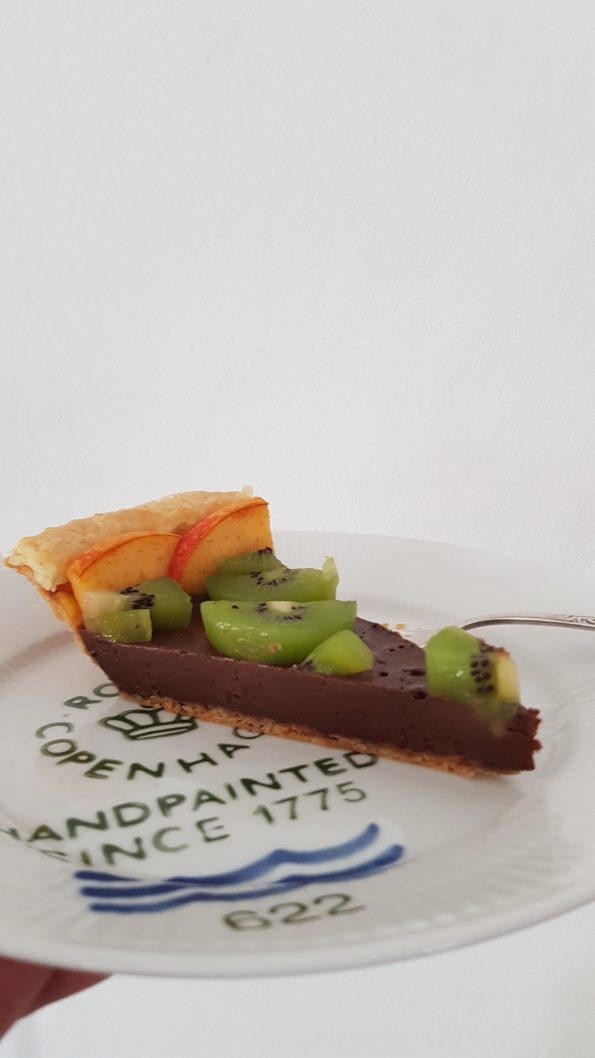
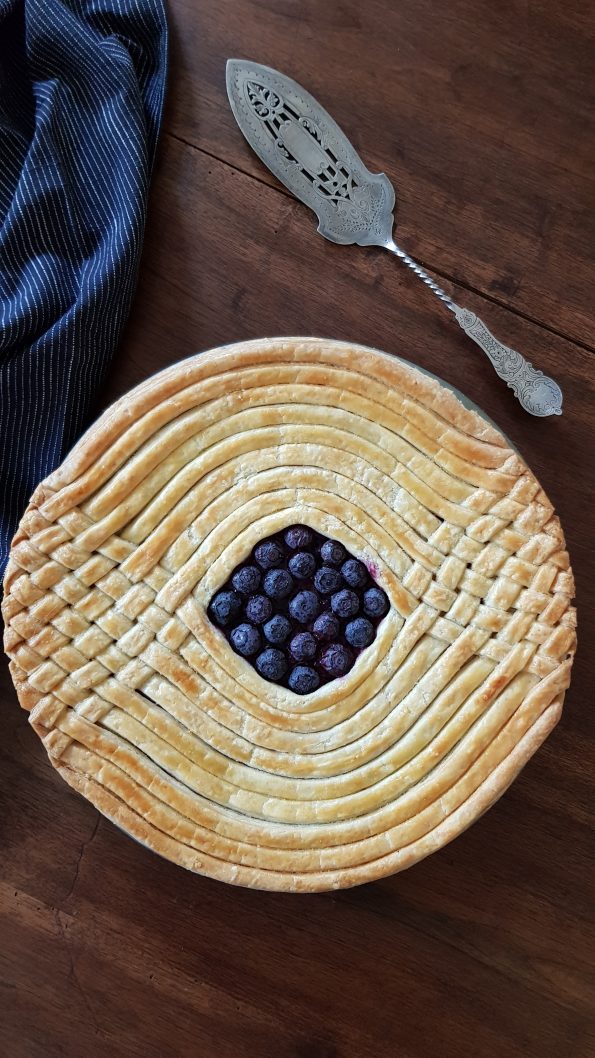
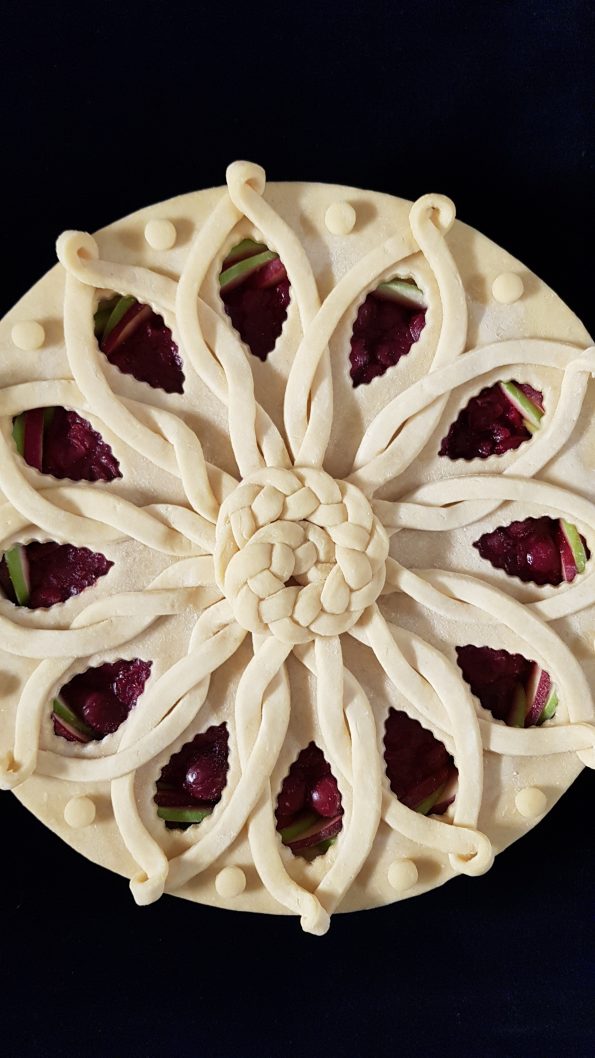
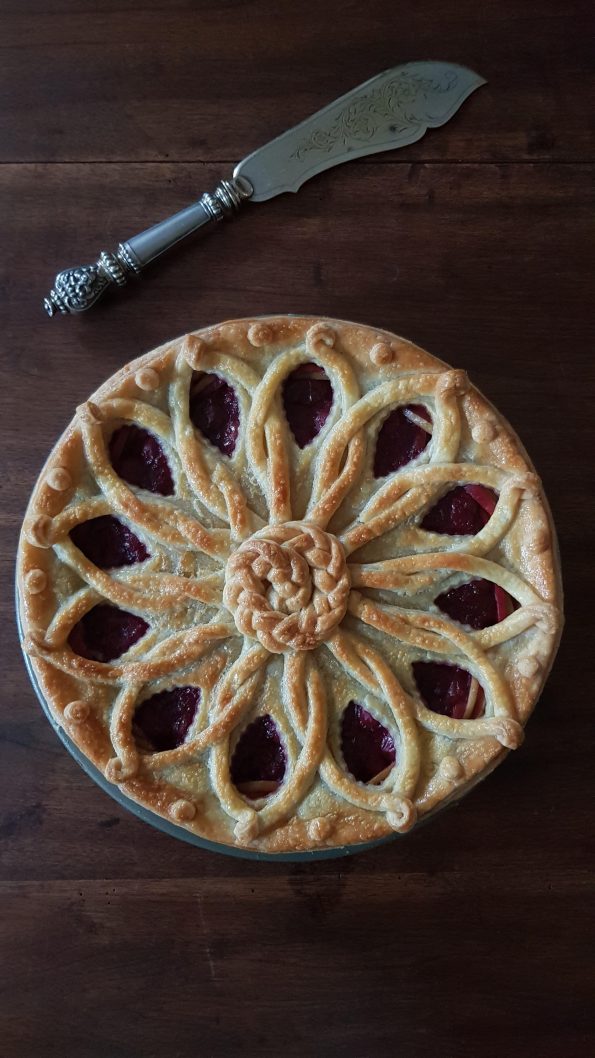
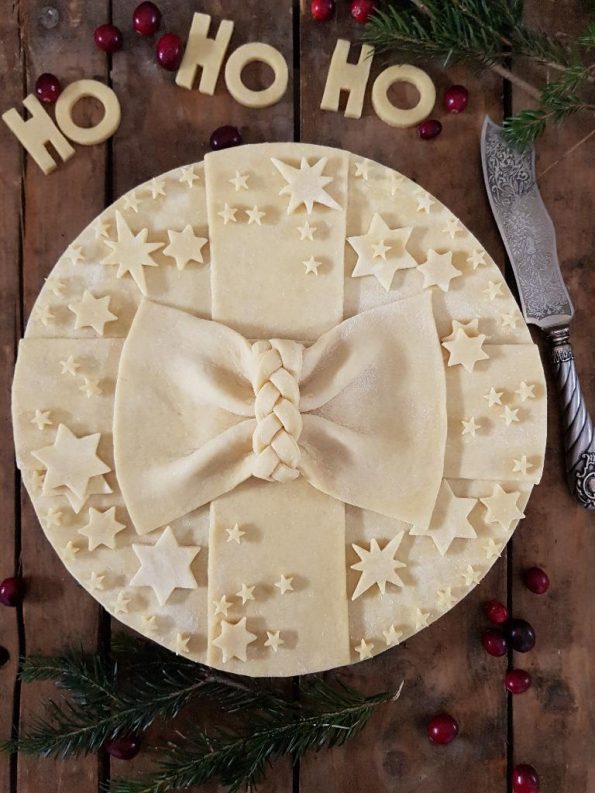
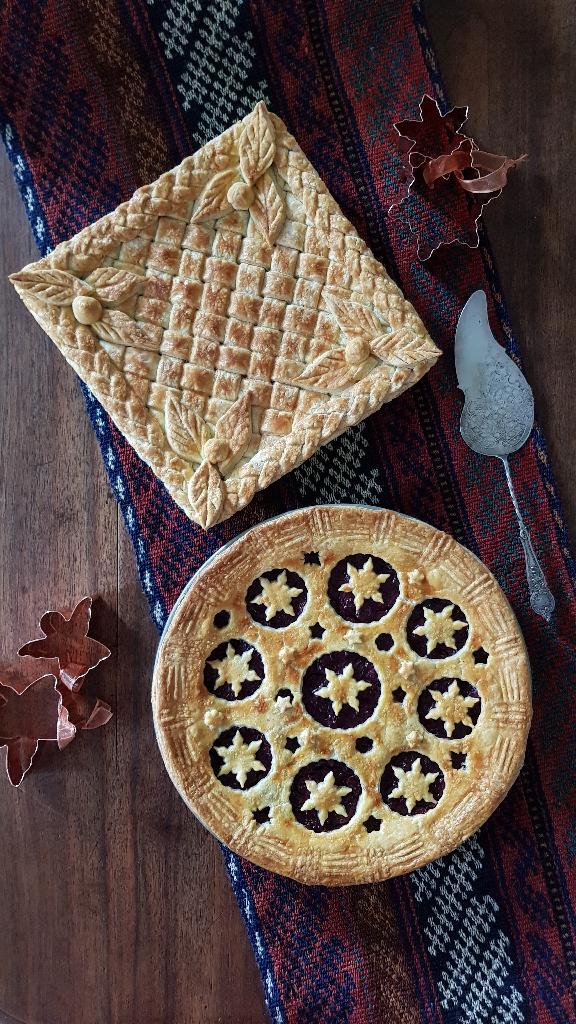
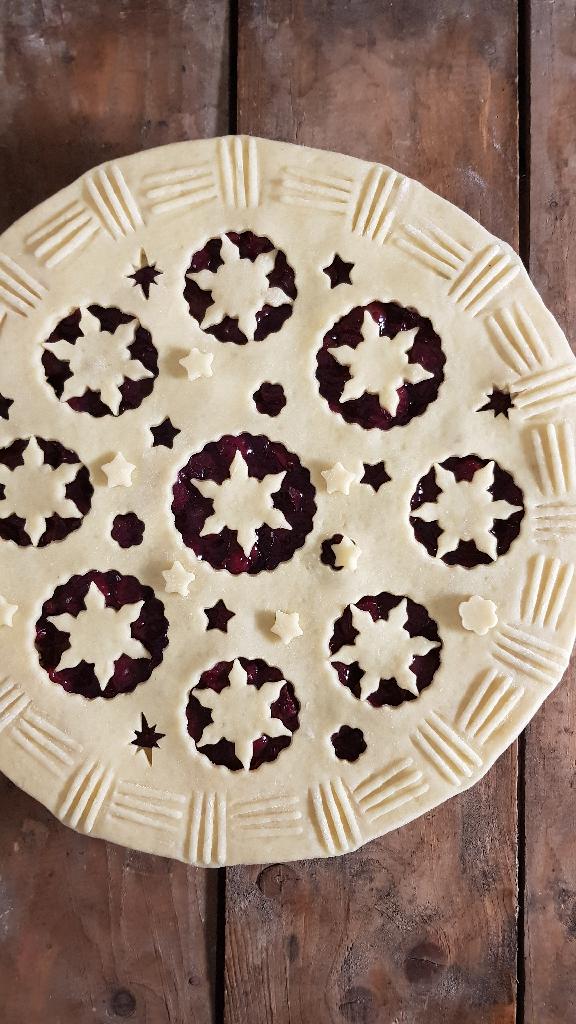
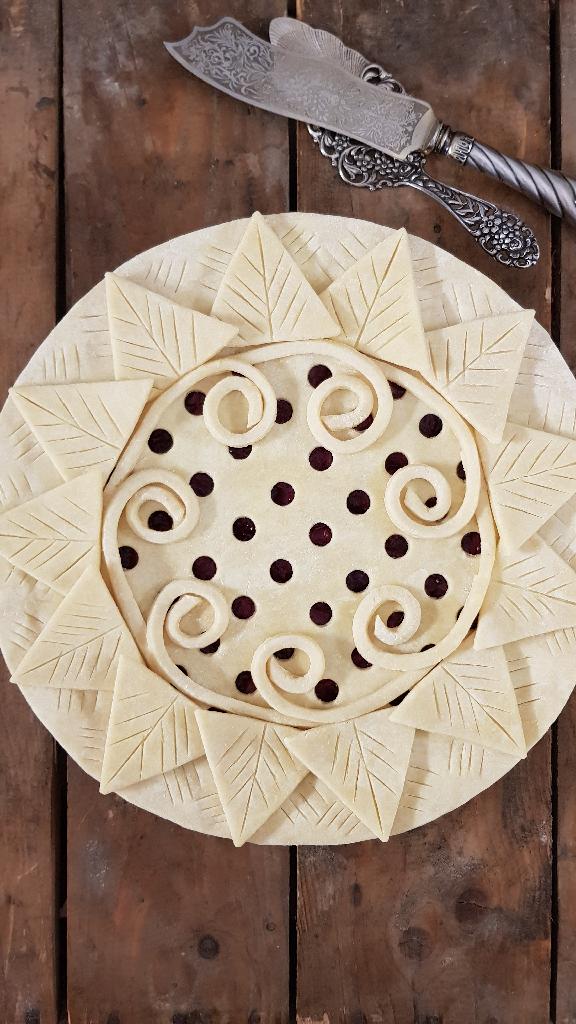
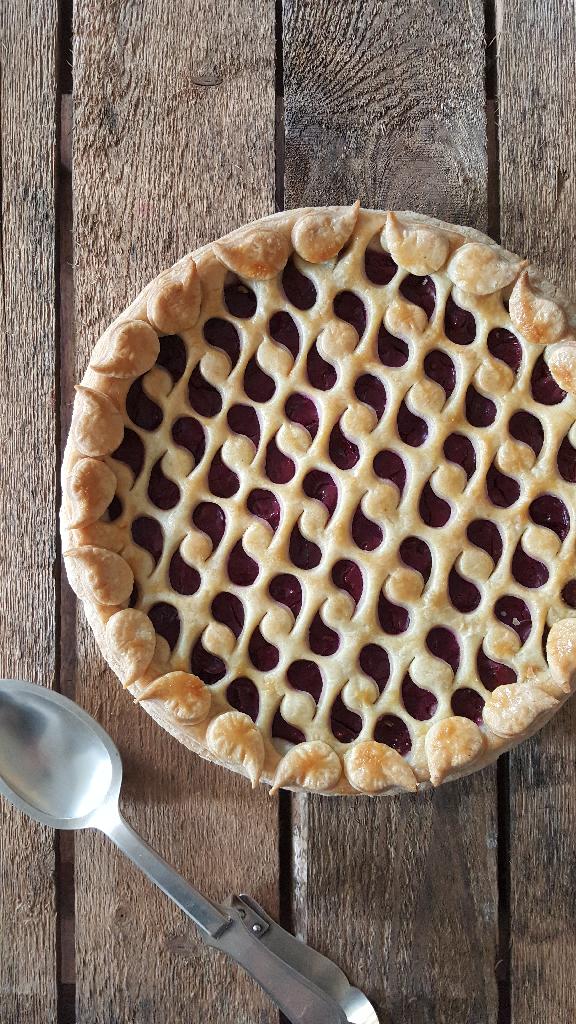
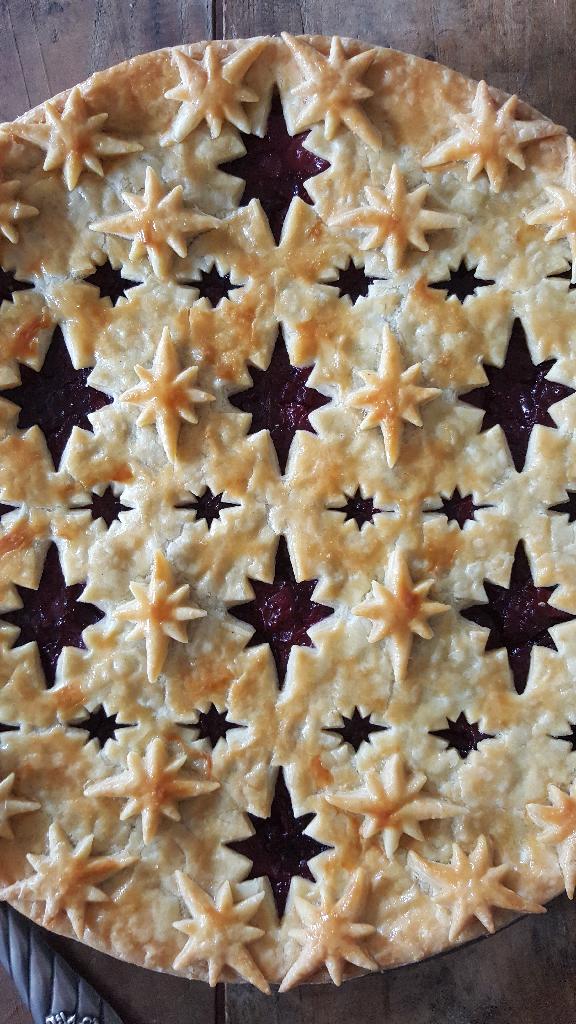
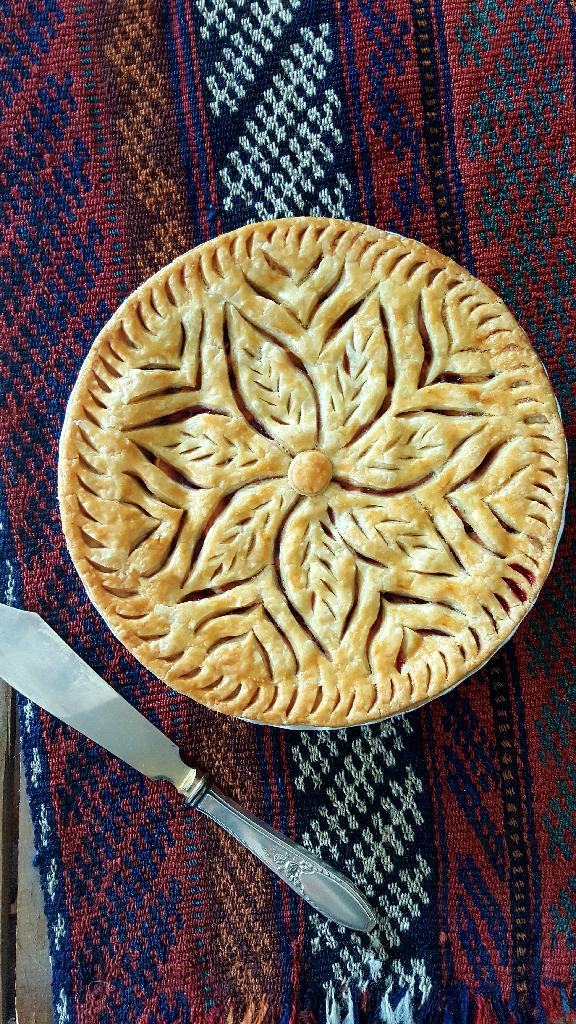
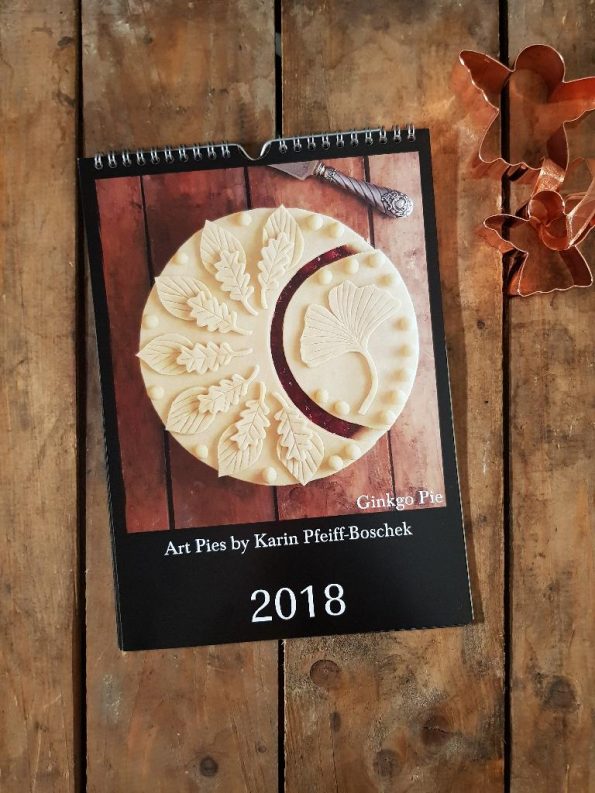
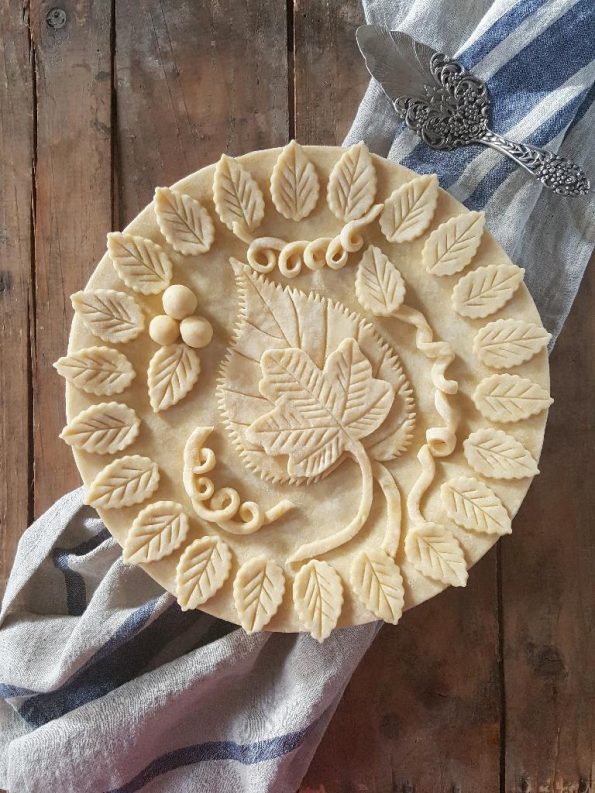
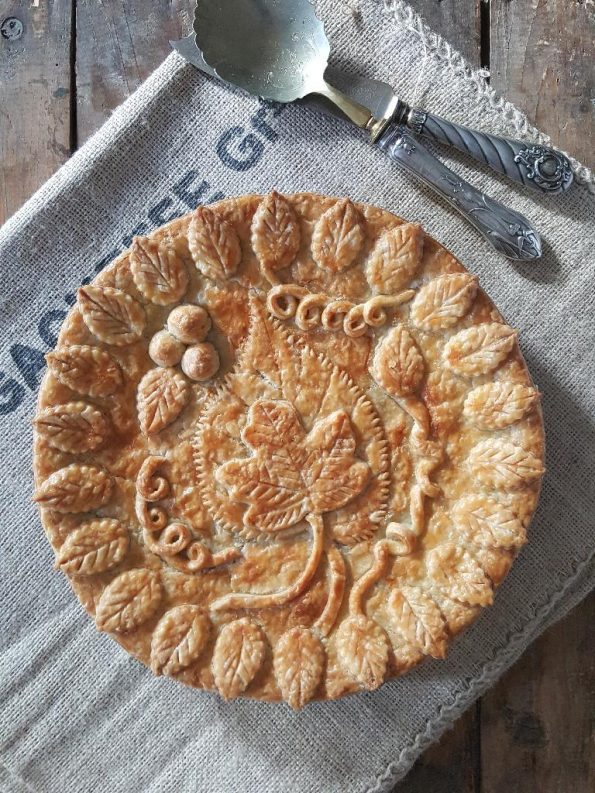
And finally
some beautiful pies for dessert